Time Stretching Regions
Logic Pro allows you to time stretch audio regions directly in the Arrange area, using menu or key commands. Time stretching an audio region changes its tempo and length, but not its pitch.
When applying these functions to a region in the Arrange area, a new file—reflecting the tempo and length changes—is created, leaving the original intact. Both new and old files are accessible in the Audio Bin.
Logic Pro offers different time stretching and compression algorithms in the Arrange area’s Audio > Time Stretching Algorithm menu. The different algorithms are best-suited for particular types of musical material. For more information, see Using the Sample Editor’s “Time and Pitch Machine.
Note: You can also time stretch selected audio regions directly in the Sample Editor, using the Time and Pitch Machine.
Select the audio region that you want to time stretch.
Control-click (or right-click) the Cycle button in the Transport bar, and make sure the Auto Set Locators by Region Selection option is not selected.
Set the left and right locator positions in the Bar ruler.
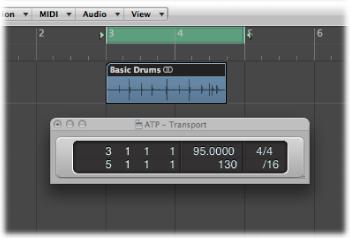
Choose Audio > Time Stretch Region to Locators to expand or compress the selected audio region to fit between the locators.
The region start point is not changed by this function, so it doesn’t matter if the locators are not directly above the region.
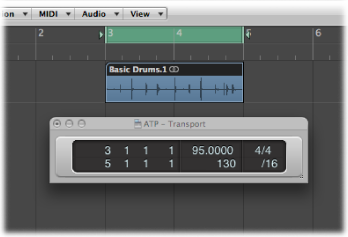
Choose Audio > Time Stretch Region to Nearest Bar.
This command adjusts the length of the selected region to the closest whole bar.
This function is ideal for fitting previously trimmed drum loops into projects in which there is a small tempo discrepancy between loop and project.