Using the Flex Tool
You can use the Flex tool in the Arrange window’s Tool menu for quick access to basic Flex Time editing functionality, without having to turn on Flex view using the View menu.
Note: If you try to use the Flex tool on a non-flex-enabled region, you are asked to choose a flex mode for the region. Choosing a flex mode initiates a transient detection process for any audio files that have not previously been analyzed.
You can use the Flex tool for the following Flex Time editing activities:
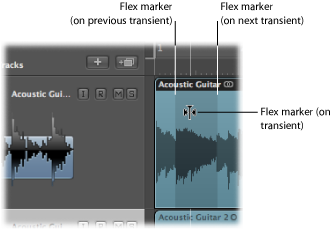
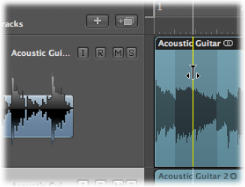
Using the Flex tool, place the pointer over the region body, then drag when you see the following pointer:

This creates three flex markers, as follows:
On the transient marker
On the previous transient marker
On the following transient marker
The shaded area in the image shows the flex marker positions. You are compressing or expanding the audio material between the middle flex marker and the other two.
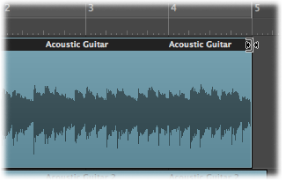
Using the Flex tool, place the pointer over the region body, then drag when you see the following pointer:

This creates three flex markers, as follows:
At the clicked position
On the previous transient marker
On the following transient marker
The shaded area in the image shows the flex marker positions. You are compressing or expanding the audio material between the middle flex marker and the other two.

Make a selection in the region with the Marquee tool, then drag it.
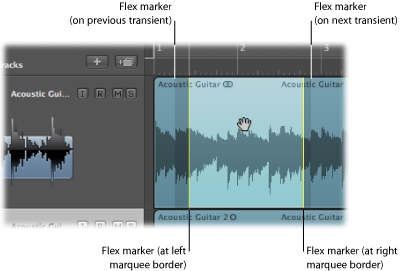
This creates four flex markers, as follows:
Two at the marquee borders
Two outside the marquee selection at the previous and next transient positions
This allows you to edit the time position of the audio material between the first and second flex markers or between the third and fourth flex markers. Nothing happens to the audio material between the second and third flex markers.
Hold down Option while dragging the flex marker.
Drag the left or right edge of the region header.
Hold down Option while dragging the region’s lower-right corner.