
When you’re recording, you can record multiple versions, or takes, of a phrase or section in quick succession. Take recording can be helpful especially when you’re improvising a lead or solo part and want to capture several versions while you’re feeling inspired.
When you record multiple takes, a take folder is created on the track, containing the take recordings. After recording, you can preview take recordings and choose which one you want to use in the project. You can also create and edit comps, by selecting the best parts from several takes and combining these parts into one master comp.
An example would be if you record three different guitar solos, each one as its own take. All three takes would be available to you in the takes folder for you to choose between, or you could use the comp feature to edit all three guitar solo takes into one guitar solo that contains pieces of each of your three solos.
Do one of the following:
Choose Record > Overlapping Audio Recordings > Cycle > Create Take Folder.
Choose File > Project Settings > Recording, then choose Cycle > Create Take Folder from the Overlapping Audio Recordings pop-up menu.
Control-click the Record button ![]() in the control bar, choose Recording Settings from the shortcut menu, then choose Cycle > Create Take Folder from the Overlapping Audio Recordings pop-up menu.
in the control bar, choose Recording Settings from the shortcut menu, then choose Cycle > Create Take Folder from the Overlapping Audio Recordings pop-up menu.
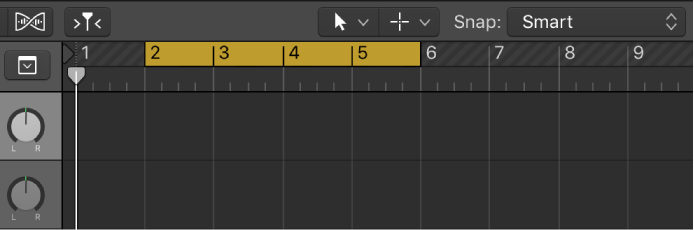
Drag left or right in the top part of the ruler.
The cycle area appears as a yellow strip in the ruler, and Cycle mode is automatically turned on.
Set the metronome for recording, if desired.
Click the Record button ![]() in the control bar (or press R) to start recording.
in the control bar (or press R) to start recording.
Recording starts automatically at the beginning of the defined cycle area. Record as many cycle passes as you wish. After the second cycle pass, a take folder is created on the track. Each subsequent cycle pass is added to the take folder.

Click the Stop button ![]() in the control bar (or press the Space bar) after you finish capturing cycle passes.
in the control bar (or press the Space bar) after you finish capturing cycle passes.
Open the take folder by doing one of the following:
Click the disclosure triangle in the upper-left corner of the take folder.
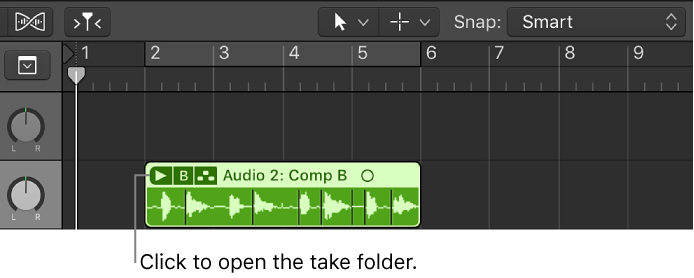
Double-click the take folder.
Select the take folder and press Control-F.