
The Piano Roll Editor shows the notes in MIDI regions on a software instrument track as colored bars in a time grid. On the grid, a note’s horizontal position indicates where the note starts playing, while its vertical position indicates its pitch. A keyboard graphic along the left edge of the Piano Roll Editor provides an easy guide to the pitches of notes.
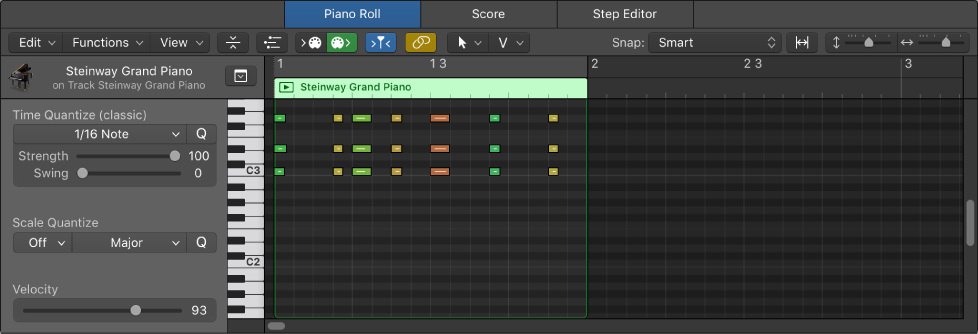
On the left are controls for quantizing the timing and pitch of MIDI notes, and editing their velocity. Along the top of the Piano Roll Editor, a ruler shows time divisions, based on the time format chosen in the LCD. The header shows the name of the selected region, or the number of regions (if more than one is selected), as well as the pitch and position of the pointer in the region.
Select a software instrument (or external MIDI instrument) track, then click the Editors button ![]() .
.
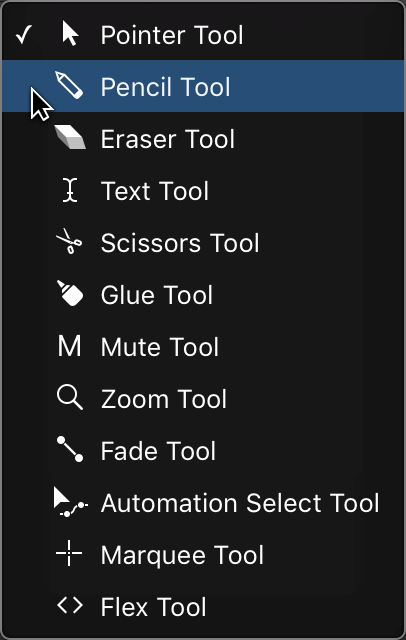
Select the Pencil tool from the Tool menu, then click a position in the Piano Roll Editor background.
Note: You can change the note length as you add a note, by holding down the mouse button and dragging left or right.
Drag over the keys on the keyboard graphic for the notes you want to select.
Select one or more notes, then drag left or right.
Hold down Option while dragging notes to a new position.
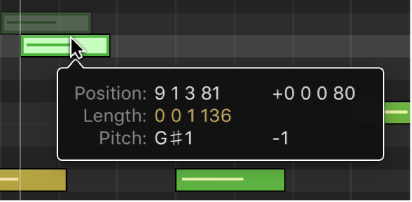
Position the pointer over the left or right edge of a note, then drag when the pointer changes to a length change icon.

While you drag, a help tag shows the precise end point and length of the note.
Tip: It might sometimes be difficult to grab the corner of very short notes. You can use the Finger tool, which allows you to grab notes anywhere to alter their length, or zoom in for a closer view.
Drag notes up or down to a new pitch.
Do one of the following:
Select one or more notes, then drag the Velocity slider left or right.
Drag a note vertically with the Velocity tool.
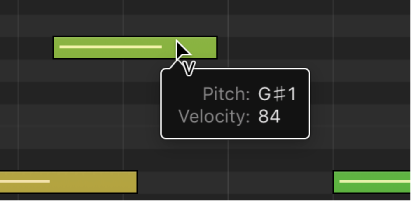
A help tag indicates the velocity value of the note you clicked, with the value changing as you drag. The color of the note event changes and the horizontal line inside the event either lengthens or shortens.
For more information about working in the Piano Roll Editor, see Piano Roll Editor overview.