Insert and edit chord grids in the Score Editor

There are several ways to insert chord grids into your score.

Insert a chord grid symbol

  1. Do one of the following:

    • Drag a chord grid symbol from the Part box into the score.

      Figure. Dragging a chord grid symbol into the Score Editor.
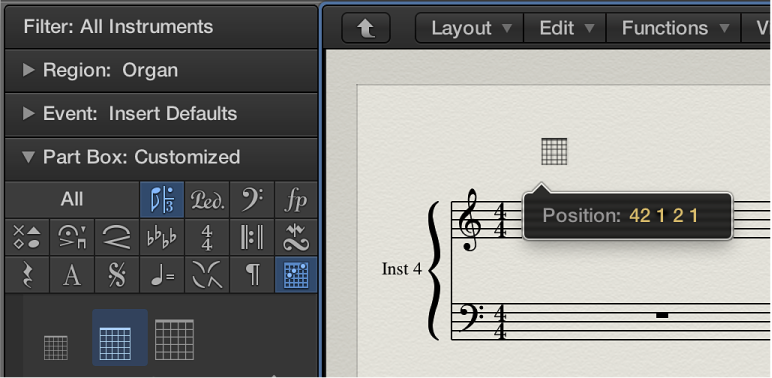
    • Choose a chord grid symbol in the Part box, then click in the Score Editor with the Pencil tool.

    Either technique opens the Chord Grid Selector pane in the Chord Grid Library.

    Figure. Chord Grid Selector pane in the Chord Grid Library window.
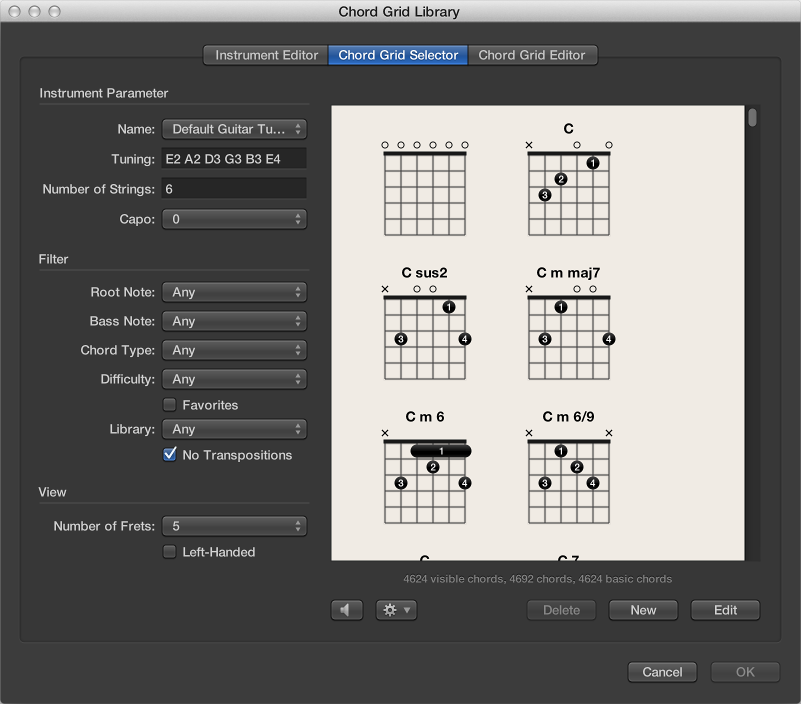
  2. Select a chord grid, then click OK.

Change the scale of a chord grid

After inserting chord grids in your score, you can edit their size and position accordingly.

The scaling values are based on the Grid scaling and Chord scaling settings in the File > Project Settings > Score > Chords & Grids pane.

Figure. Chords and Grids pane in the Score project settings.

Align selected chord grids vertically

Align all chord grids vertically

  1. Control-click a chord grid, then choose Align Object Positions Vertically.

  2. You’re asked if you want to align all similar objects to this one. Click OK.

All chord grids are aligned vertically.

Copy an existing chord grid

Hide the chord name

You have the option to hide or show the chord name on a chord grid.

Figure. Showing chord name on chord grid symbol being hidden.

Modify the chord of an existing chord grid