
EXS24 mkII and the Logic Pro X Audio File Editor are built to work together. The Logic Pro X Audio File Editor provides an intuitive way to adjust sample and loop start and end points by working directly on a visual representation of the waveform.
Control-click either the Loop Start or Loop End parameter fields of the zone you want to edit in the Instrument Editor window.
This opens a shortcut menu, which you can use to open the selected sample in the Logic Pro X Audio File Editor (or the external sample editor set in the preferences—see Use an external instrument editor with EXS24 mkII.
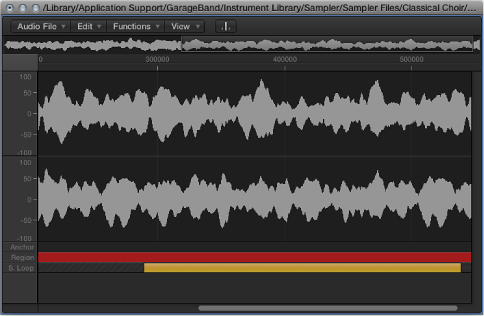
After the sample is opened in the Audio File Editor, drag the sample borders and Loop points graphically. Loop Start is represented by the LS marker and Loop End by the LE marker.
To accelerate your workflow, you can also use the Audio File Editor loop commands:
Sample Loop → Selection: The loop area—defined by the loop start and end points—is used to select a portion of the overall audio file.
Selection → Sample Loop: The selected area is used to set the loop start and end points.
Choose Edit > Write Sample Loop to Audio File.
The new loop values are written to the audio file header.
Save the sample after you complete your edits.
The new values written to the audio file header are used by EXS24 mkII.
Note: Edited samples may have values that are not accurately shown in the Instrument Editor.
After you save and reopen a sample that was edited in either the Logic Pro X Audio File Editor or a sample editor not made by Apple, it is likely that either the Start and End, or Loop point values—shown in the Parameters area—will no longer be accurate.
Choose the Update Selected Zone(s) Info from Audio File command from the Zone menu.
This command reads loop settings and start and end points directly from the audio file and updates the settings of the zone—shown in the Parameters area—accordingly.