Align text
Select the text box, a shape with text, a table cell, a row, or a column.
In the Text pane of the Format inspector, click Style, then click the alignment buttons you want.
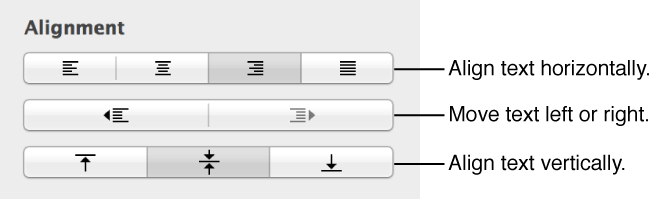
You can adjust text in a text box, shape, table cell, row, or column so that the text is aligned to the left or right border, centered, or aligned on both left and right (justified). You can also change the vertical alignment, adjust line spacing, set the text margins, and change the number of columns in a shape or text box.
You can use tab stops to align text. When you press the Tab key (or Option-Tab when you’re working in a table cell), the insertion point and any text to the right of it move to the next tab stop, and text you enter starts at that point.
Select the text box, a shape with text, a table cell, a row, or a column.
In the Text pane of the Format inspector, click Style, then click the alignment buttons you want.
To set paragraph margins, make sure that the rulers are showing. If you don’t see rulers, click View ![]() in the toolbar, then choose Show Rulers.
in the toolbar, then choose Show Rulers.
Click in a paragraph, or select one or more paragraphs.
Drag the margin and paragraph indent markers (in the top ruler) to where you want them.
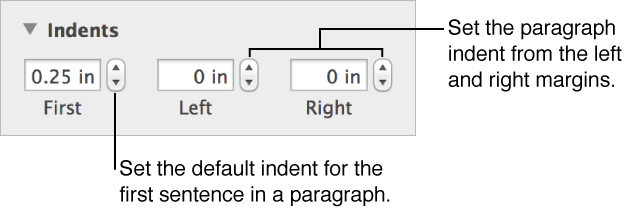
To use default indents, which increase or decrease the indent of an entire paragraph, click one of the indent buttons in the Text pane of the Format inspector (you may have to click the Style button near the top of the pane to see the alignment buttons).
![]()
You can change default paragraph indents in the Text pane of the Format inspector. Click the Layout button, then click the disclosure triangle next to Indents.
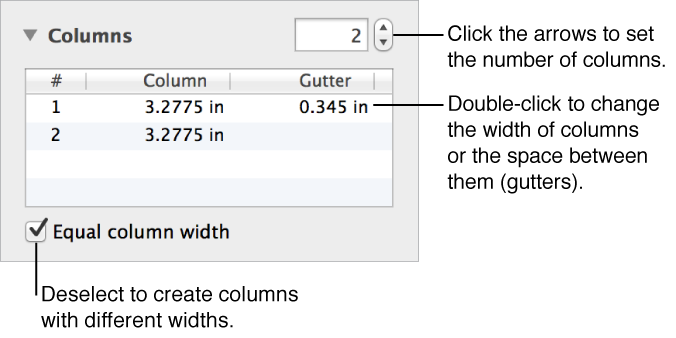
You can change the number of columns in a shape or text box.
Select the shape or text box.
In the Text pane of the Format inspector, click Layout, then click the disclosure triangle next to Columns.
Click or select the paragraphs where you want to set tab stops.
Click the horizontal ruler where you want to place a tab stop.
If you don’t see rulers, click View ![]() in the toolbar, then choose Show Rulers.
in the toolbar, then choose Show Rulers.
To change the tab stop alignment, Control-click the tab stop icon, then choose the alignment you want (Left Tab, Center Tab, Right Tab, or Decimal Tab).
To change the position of the tab stop, drag its icon along the ruler.
To remove a tab stop, drag the tab stop icon below the ruler until it disappears.
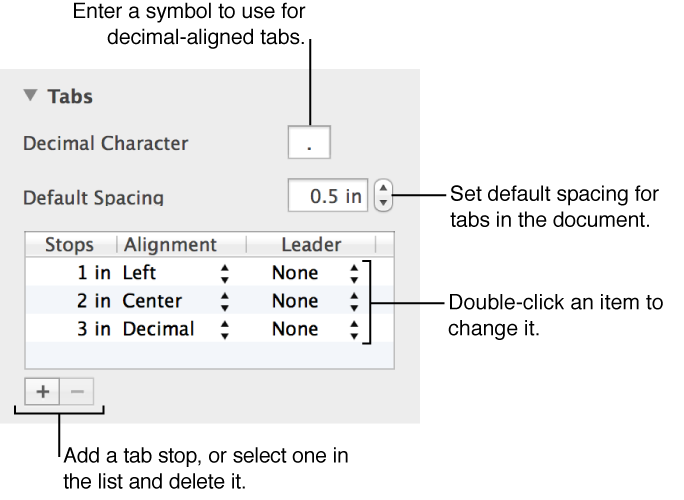
You can also change other tab settings, including the default tab spacing. In the Text pane of the Format inspector, click Layout, then use the controls in the Tabs section to make changes.