Create a photo book
Select the photos you want in your book.
To select a single photo, click it. To select more than one photo, drag to enclose adjacent photos or hold down the Command key as you click photos that are not next to one another.
You can select photos from anywhere in your iPhoto library.
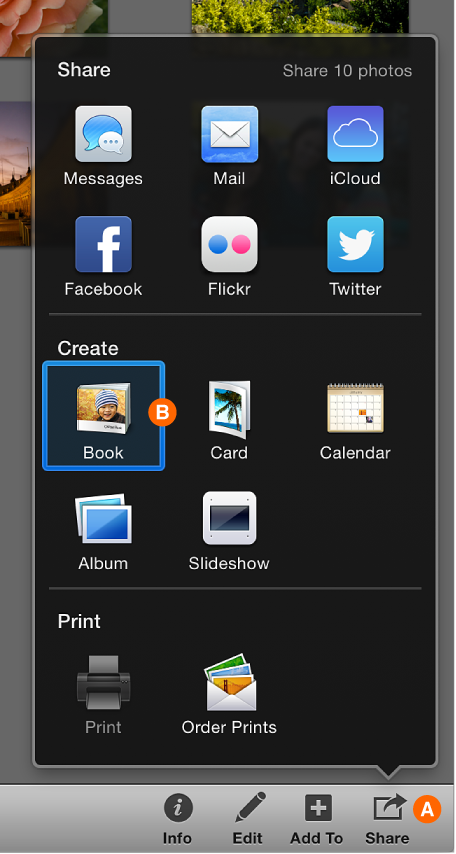
Click the Share button in the toolbar (A, shown below), and then click Book (B, shown below).
Click any of the sample books to see the many themes available for your book. To select a theme, click it to rotate it to the center position.
In the bottom-left corner of the window, you can see the title, description, and dimensions for each theme as it appears in the center spot of the carousel. To get more details, click the “Learn more” arrow in the bottom-left corner of the iPhoto window.
Select the options for your book: type (hardcover, softcover, or wire bound), color, and size.

When you’ve made all your selections, click the Create button in the bottom-right corner of the window (shown above).
iPhoto creates and displays all the pages, and your new book appears in the Source list.
You can customize the book by adding text, rearranging pages, adding more photos, removing photos, and so on.
To order the book, click the Buy Book button that appears in the book view toolbar.