
iMovie includes a library of animated travel maps and backgrounds you can use to add color and narrative to your movie. For example, an animated travel map can show where you and your family traveled on your vacation.
In the timeline, position the playhead where you want to add the animated travel map or background.
Select Backgrounds above the browser.

In the browser, find the animated travel map or background you want to add to your movie.
As you skim maps and backgrounds in the browser, previews appear in the viewer.
Note: The first time you skim a map, iMovie generates a preview; you may have to wait for the preview to finish before continuing.
Double-click the map or background.
The map or background is added to the movie at the playhead position.
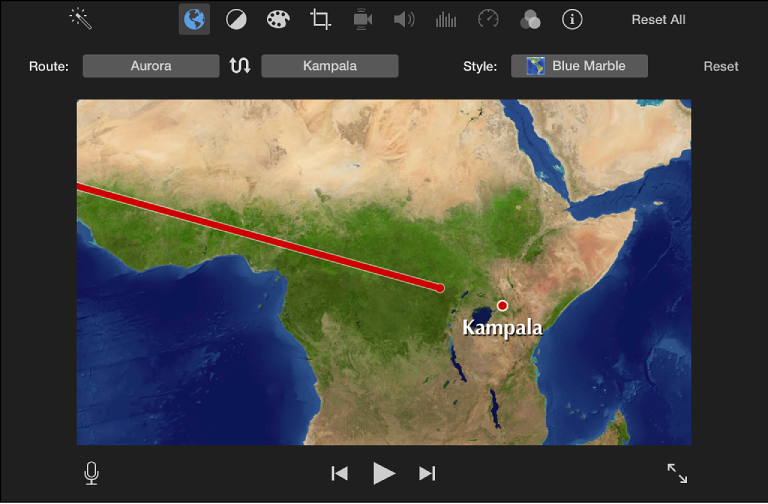
You can change the route and style of the animated travel map in your movie.
In the timeline, double-click the animated travel map you want to modify.
The animated travel map controls appear above the viewer.
Do any of the following:
Create a route: Click the route pop-up menus and choose a start location and end location.
Note: You can enter a custom name for a location in the “Name to display on map” text field.
Change the look of the animated travel map: Click the Style pop-up menu and choose an option.
Reverse the route: Click the swap button.
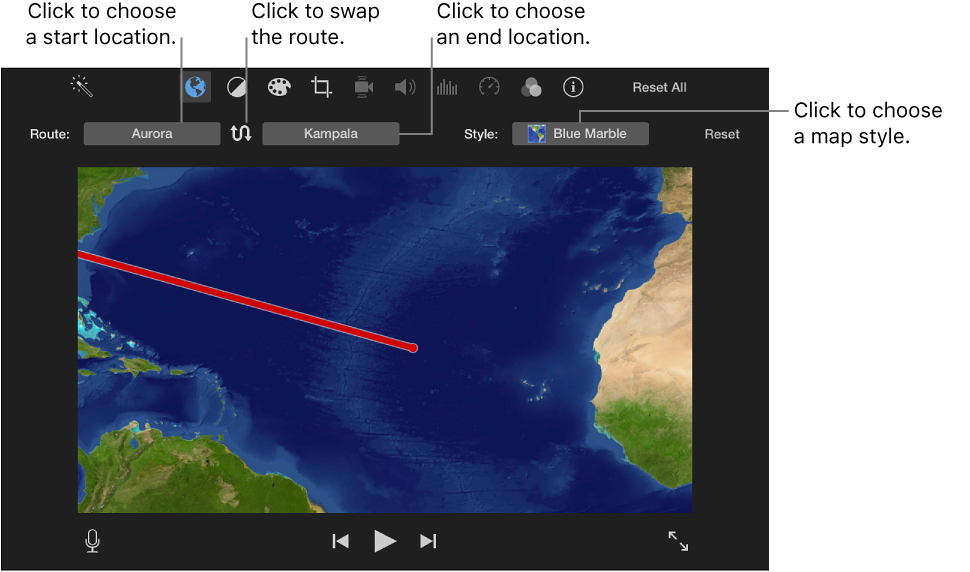
Remove the route changes: Click the Reset button to the right of the Style pop-up menu.