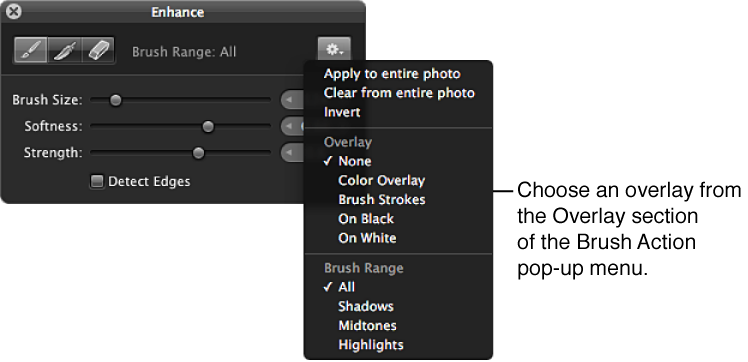
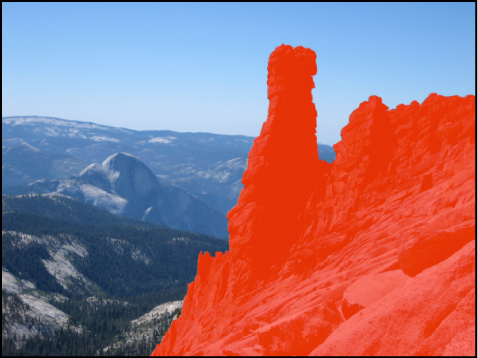
Color Overlay: Displays a pink overlay over the brush strokes for the selected adjustment.
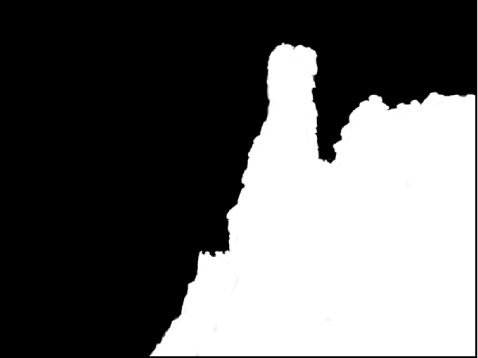
Brush Strokes: Displays the brush strokes for the selected adjustment as pure white over a pure black background. This option provides the easiest method for identifying brush strokes that have been applied to an image. It’s a good idea to use this overlay option if you suspect that you missed a tiny part of the image when brushing. The missed portions of the image appear as black dots or lines.
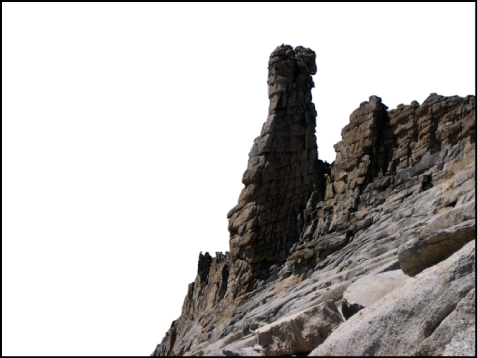
On Black: Displays a pure black mask over the image, with the brush strokes revealing the image beneath. This option is useful for showing detailed brush strokes over a bright area in the image.
On White: Displays a pure white mask over the image, with brush strokes revealing the image beneath. This option is useful for detailed brush strokes over dark areas in the image.