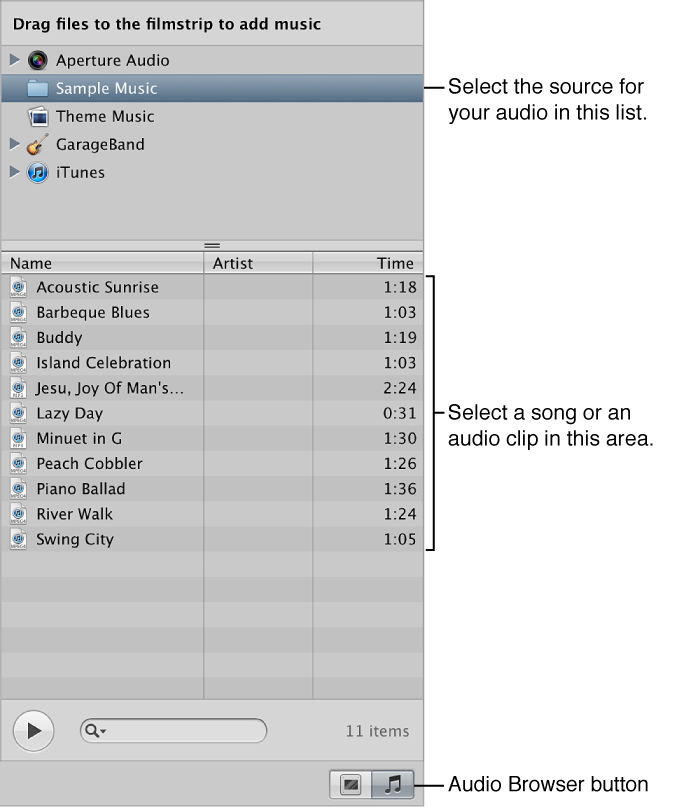
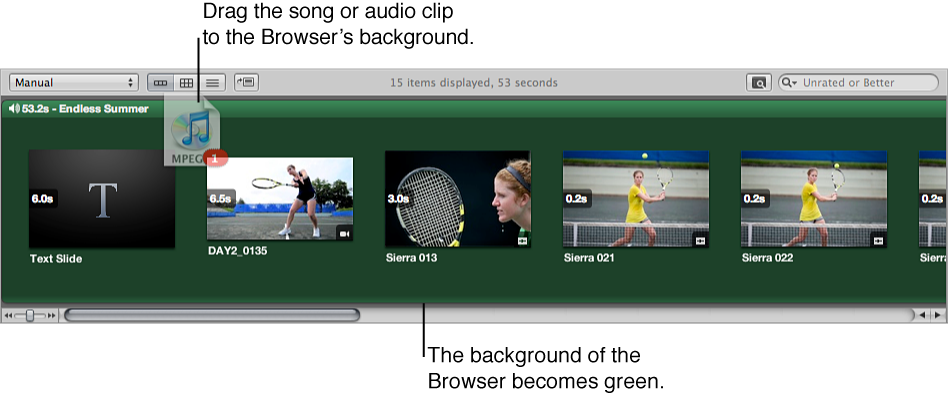
Drag a song or an audio clip from the Audio browser to the background of the timeline in the Browser: Audio added in this way is called the main audio track and is used to play audio, such as a song, in the background. Clips in the main audio track cannot be edited, but you can add another audio clip to the end of the track if the slideshow is longer than the audio file. When an audio clip is added to the main audio track, the background of the timeline in the Browser turns green.
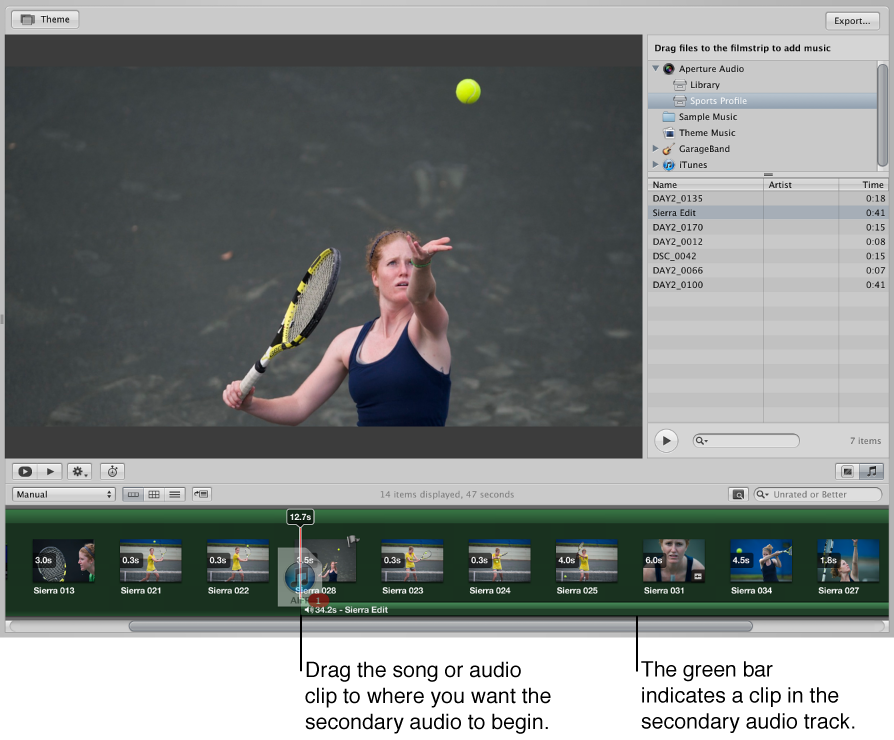
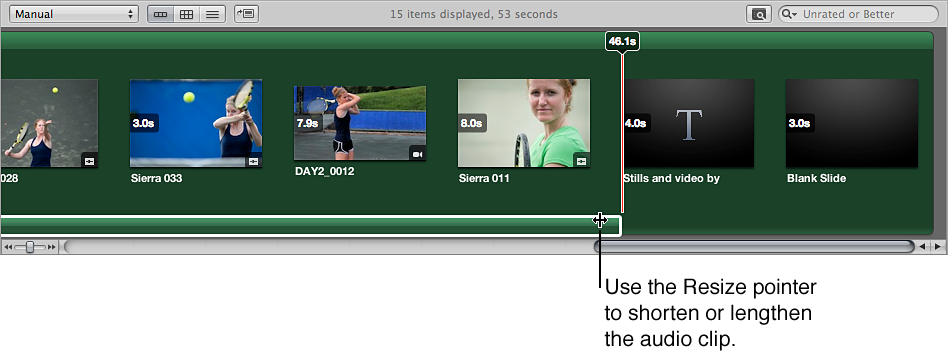
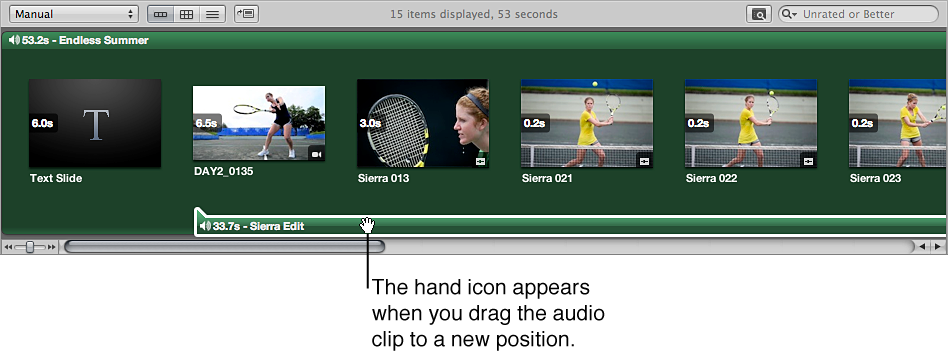
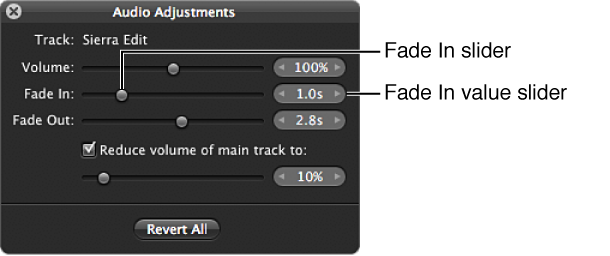
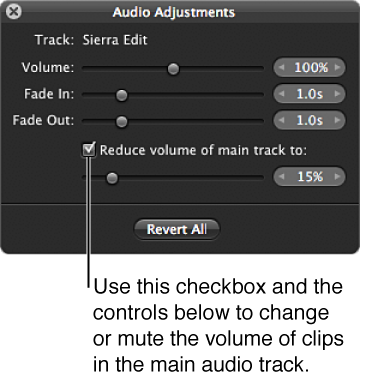
Drag a song or an audio clip from the Audio browser to a specific slide in the Browser: Dragging an audio clip to a slide creates a secondary audio track, which appears as a green bar below the slides in the Browser. Clips in the secondary audio track always play on top of audio clips in the main audio track. However, you can apply fade-ins and fade-outs to the clips in the secondary audio track, and you can adjust the volume of clips in the main audio track when a clip in the secondary audio track is playing. You can also adjust the duration and placement of audio clips in the secondary audio track.
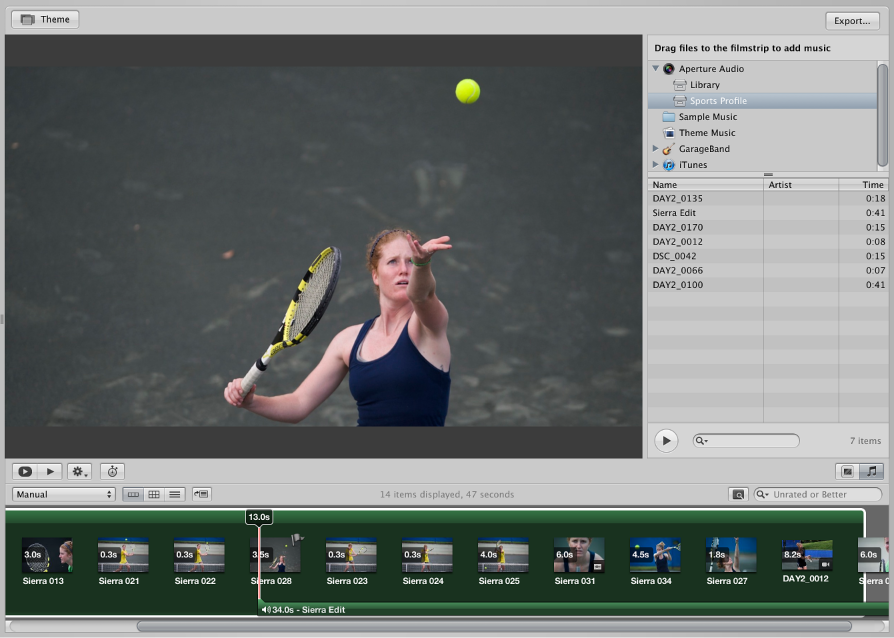
You can fit the slideshow to the length of the main audio track, and you can align the slides to the beat of the music.