Naming Tracks in the Arrange Area
You can use the Track Header Configuration dialog to determine which track names are displayed in the track header.
Open the Track Header Configuration dialog by doing one of the following:
Choose View > Configure Track Header in the Arrange area (or use the corresponding key command).
Control-click (or right-click) any track header in the track list, then choose Configure Track Header from the shortcut menu.
Choose the track name option you want in the first pop-up menu.
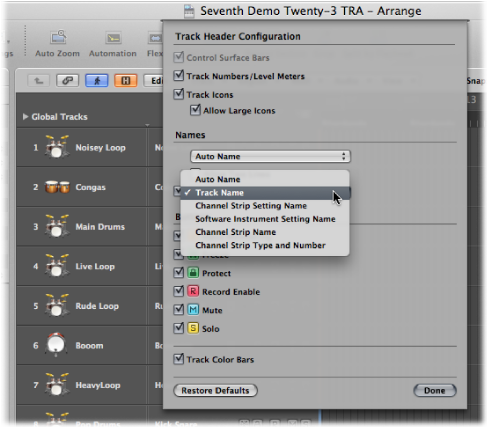
Auto Name: This option (the default) intelligently names the track, based on the following actions, and order:
If you enter a track name manually, the track name is displayed.
If you loaded a channel strip setting or software instrument, the name of the channel strip setting or software instrument is displayed.
If you did none of the above, the channel strip name is displayed.
Track Name: This option allows you to manually enter a track name in the track list.
Channel Strip Setting Name
Software Instrument Setting Name
Channel Strip Name
Channel Strip Type and Number
Select the Allow Two Lines checkbox if you want to view two track names in the track header, then choose a name option from the second pop-up menu.
The option chosen in the first pop-up menu is always shown to the left if both names are shown, divided by a line.
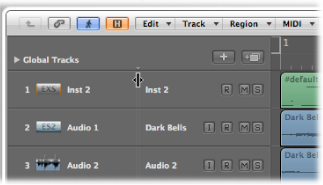
You can move this dividing line by dragging the mark at the top of the track list.
Choose Track > Create Track Name, then enter a name in the text input field that appears.
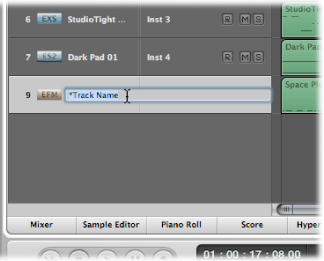
Double-click the track name in the track list, then enter a name in the text input field that appears.
Tip: Use the Tab key in the track list when you want to create several track names in a row. After entering text in the text input field, you can press the Tab key to confirm the current edit and activate the next track for editing. Using Shift-Tab confirms the current edit and activates the previous track for editing.
Double-click the top line of the Track Parameter box in the Inspector, then enter the name in the text input field that appears.
The new track name is displayed in place of the channel strip name, and is used as the default name for newly recorded regions.
Choose Track > Delete Track Name.
Double-click the track name to open the track name input box, then press the Delete key.
The track (instrument or audio) channel strip name is then used as the default name shown in the track list (and for newly recorded regions).
Important: AutoName must be selected in the Track Header Configuration dialog for this functionality to work.