Opening, Closing, and Resizing Plug-in Windows
Hands-on operation of plug-ins takes place in the plug-in window. This window allows access to all plug-in parameters. Each instance of a plug-in has its own plug-in window, allowing each to have discrete settings.

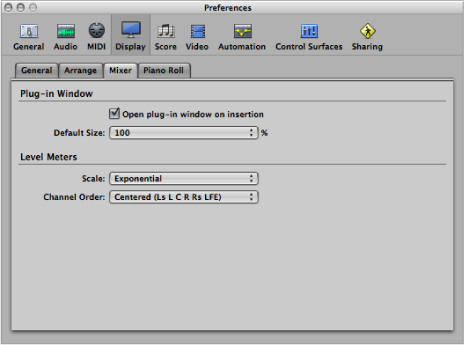
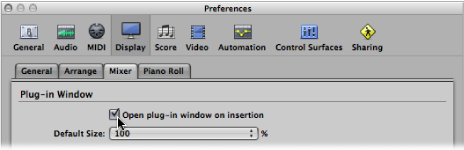
The plug-in window opens automatically when you insert a plug-in. This behavior can be overridden by deselecting the “Open plug-in window on insertion” checkbox in the Logic Pro > Preferences > Display > Mixer pane.
Click the close button at the top-left corner of the plug-in window.
Note: Closing the plug-in window does not deactivate the plug-in.
Double-click an assigned Insert or Instrument slot. (The name of the plug-in is shown on the slot.)
Use the Hide/Show All Plug-in Windows key command (default assignment: V).
You can also adjust the size of plug-in windows, individually or globally.
Drag the lower-right corner of the plug-in window. This scaling applies to individual plug-ins.
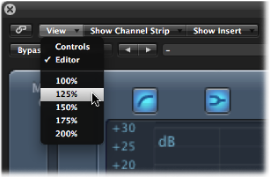
Choose the window size in the plug-in window’s View menu. This scaling applies to individual plug-ins.
Set the default size for plug-in windows in the Logic Pro > Preferences > Display > Mixer pane. This scaling applies to all plug-ins.